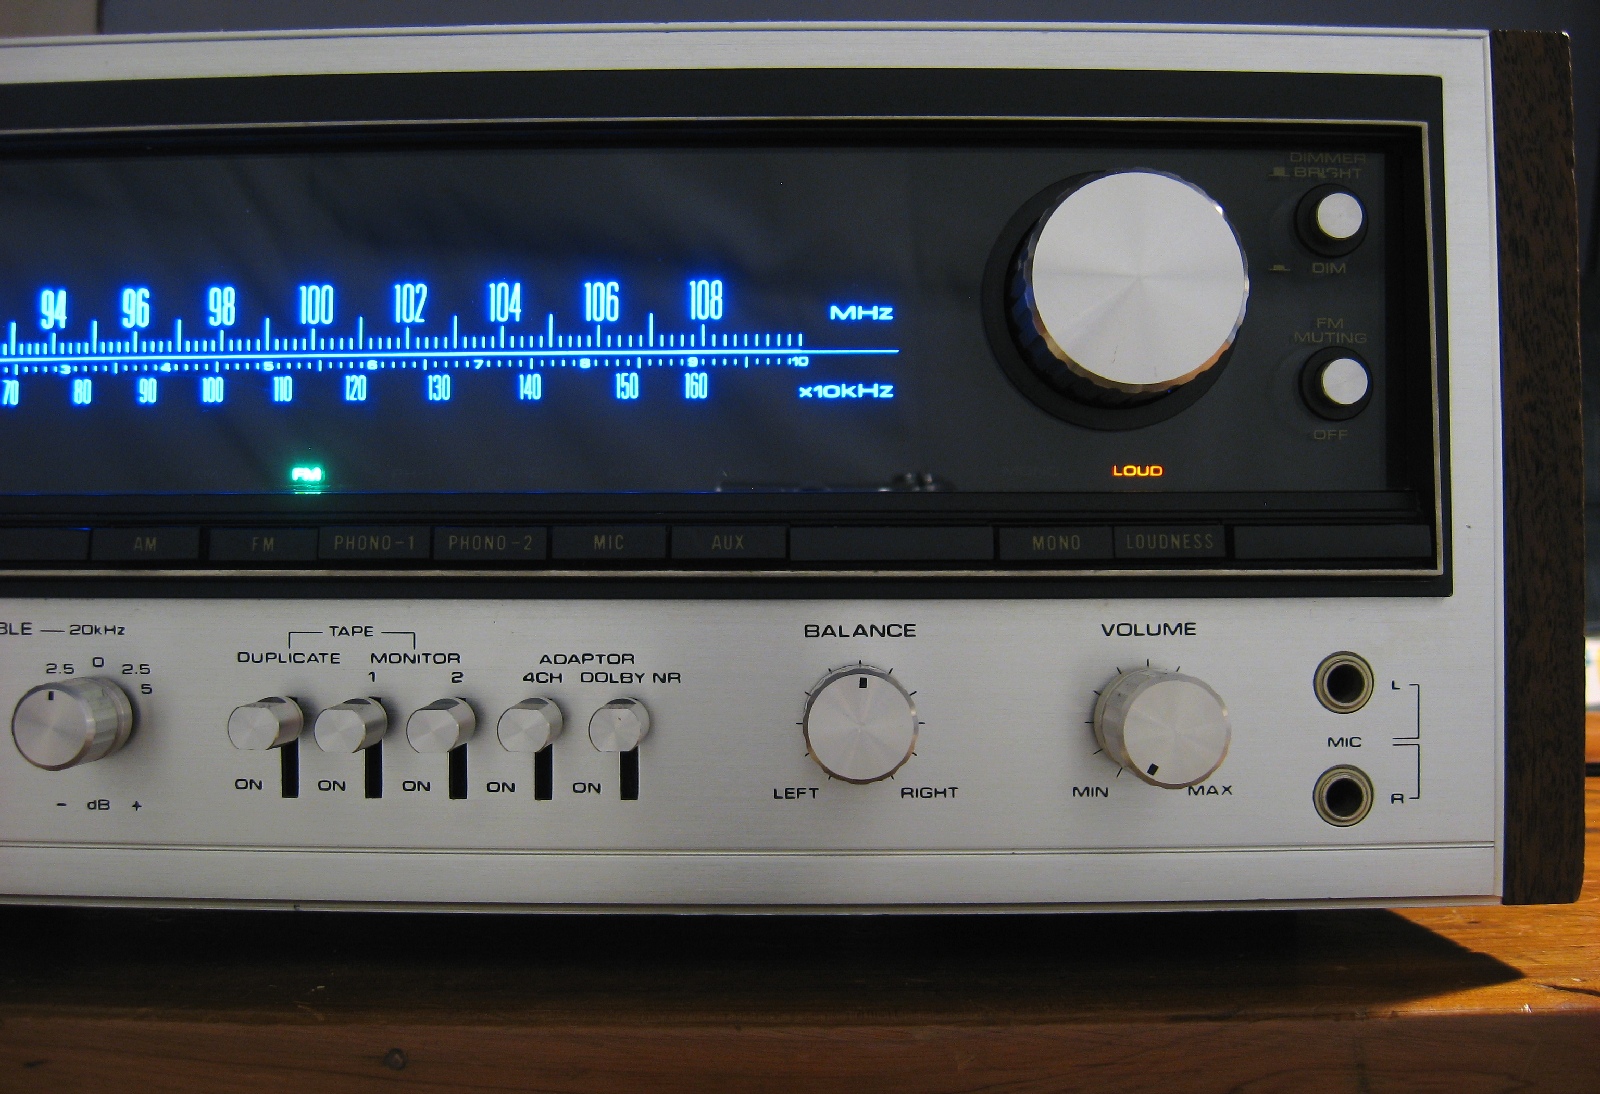
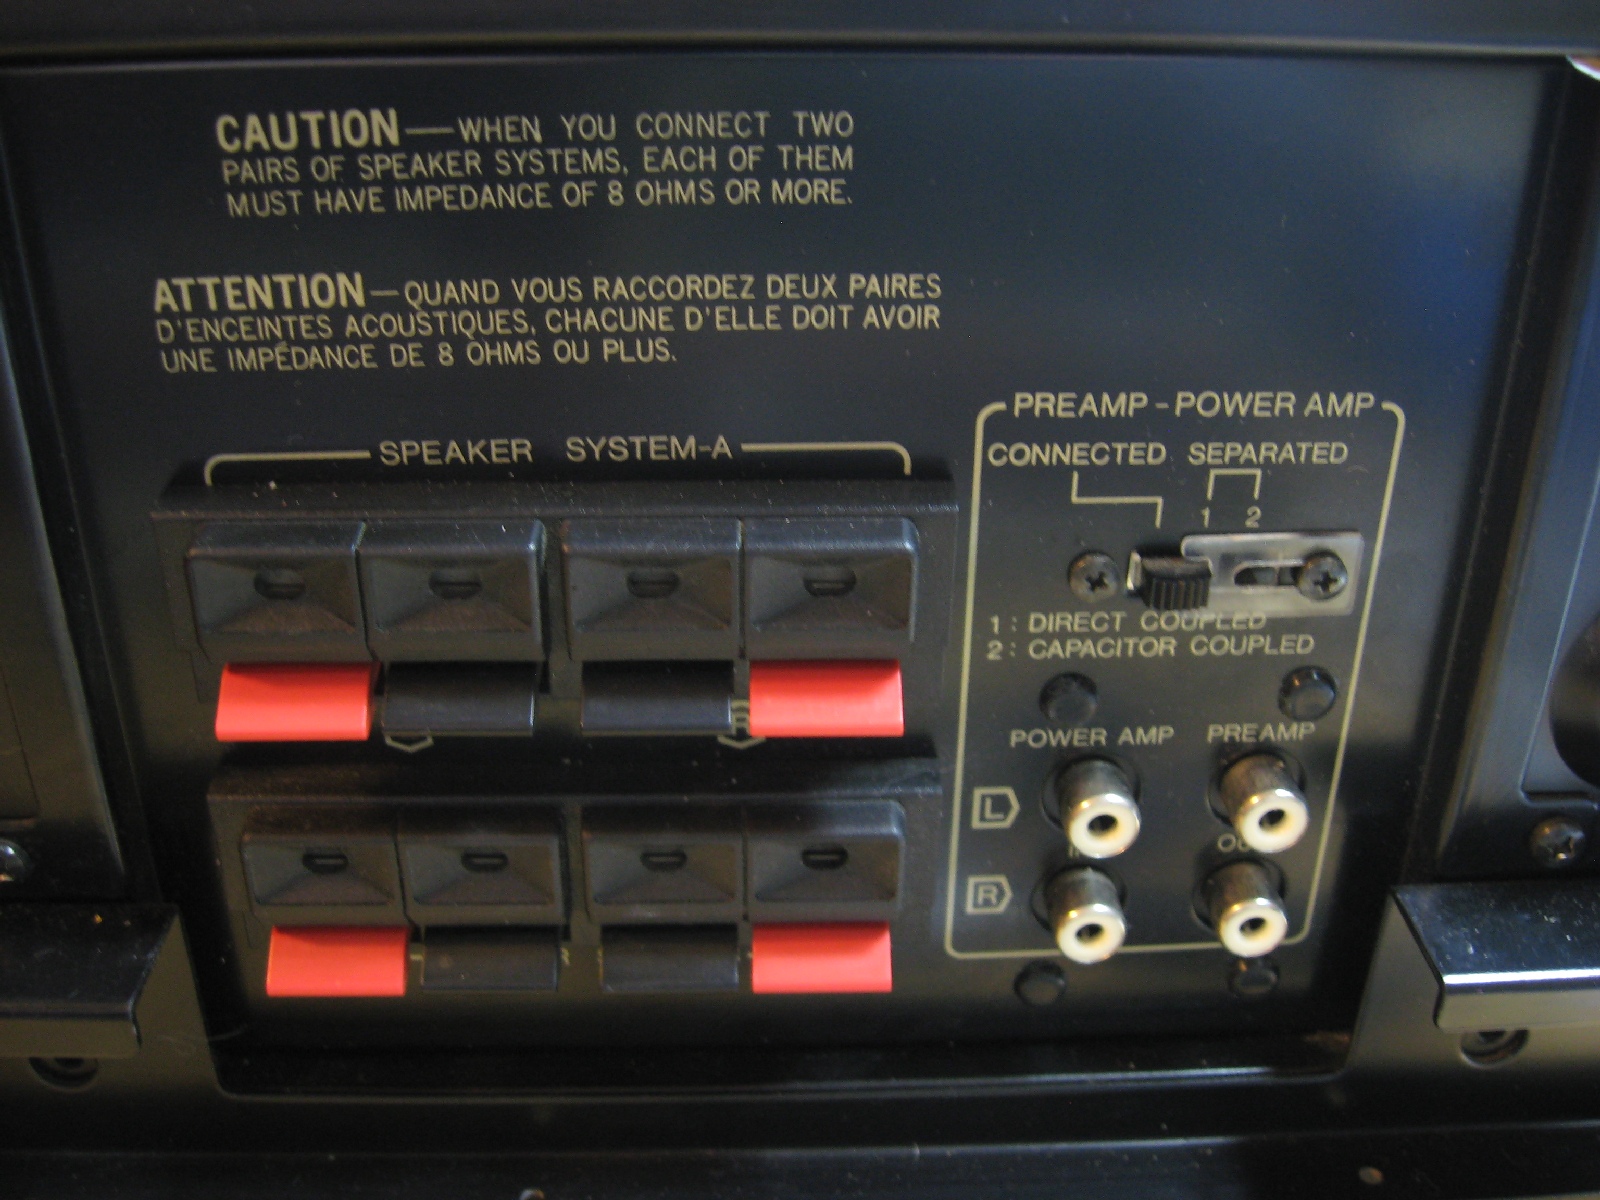
My restored SX-1980

Friday, January 13, 2012

Pioneer SX-1010 restore and recap

I got a SX-1010 to restore and recap from Brian in New York, who is also is a follower on here (Hi Brian!). Caps I'll be using are Panasonic FM and FC for the preamp sections, Nichicon PW for the power supply and power amp, Nichicon KL for the orange low noise caps and Panasonic ECQ film caps for anything under 1uF. The filter caps are being replaced with UCC 18000uF 75v caps.

Here are some before photos:

FM muting


Phono amp


Tone amp


Protection board


Power amp board (there are two of these, both look the same so I'll just have one photo.)
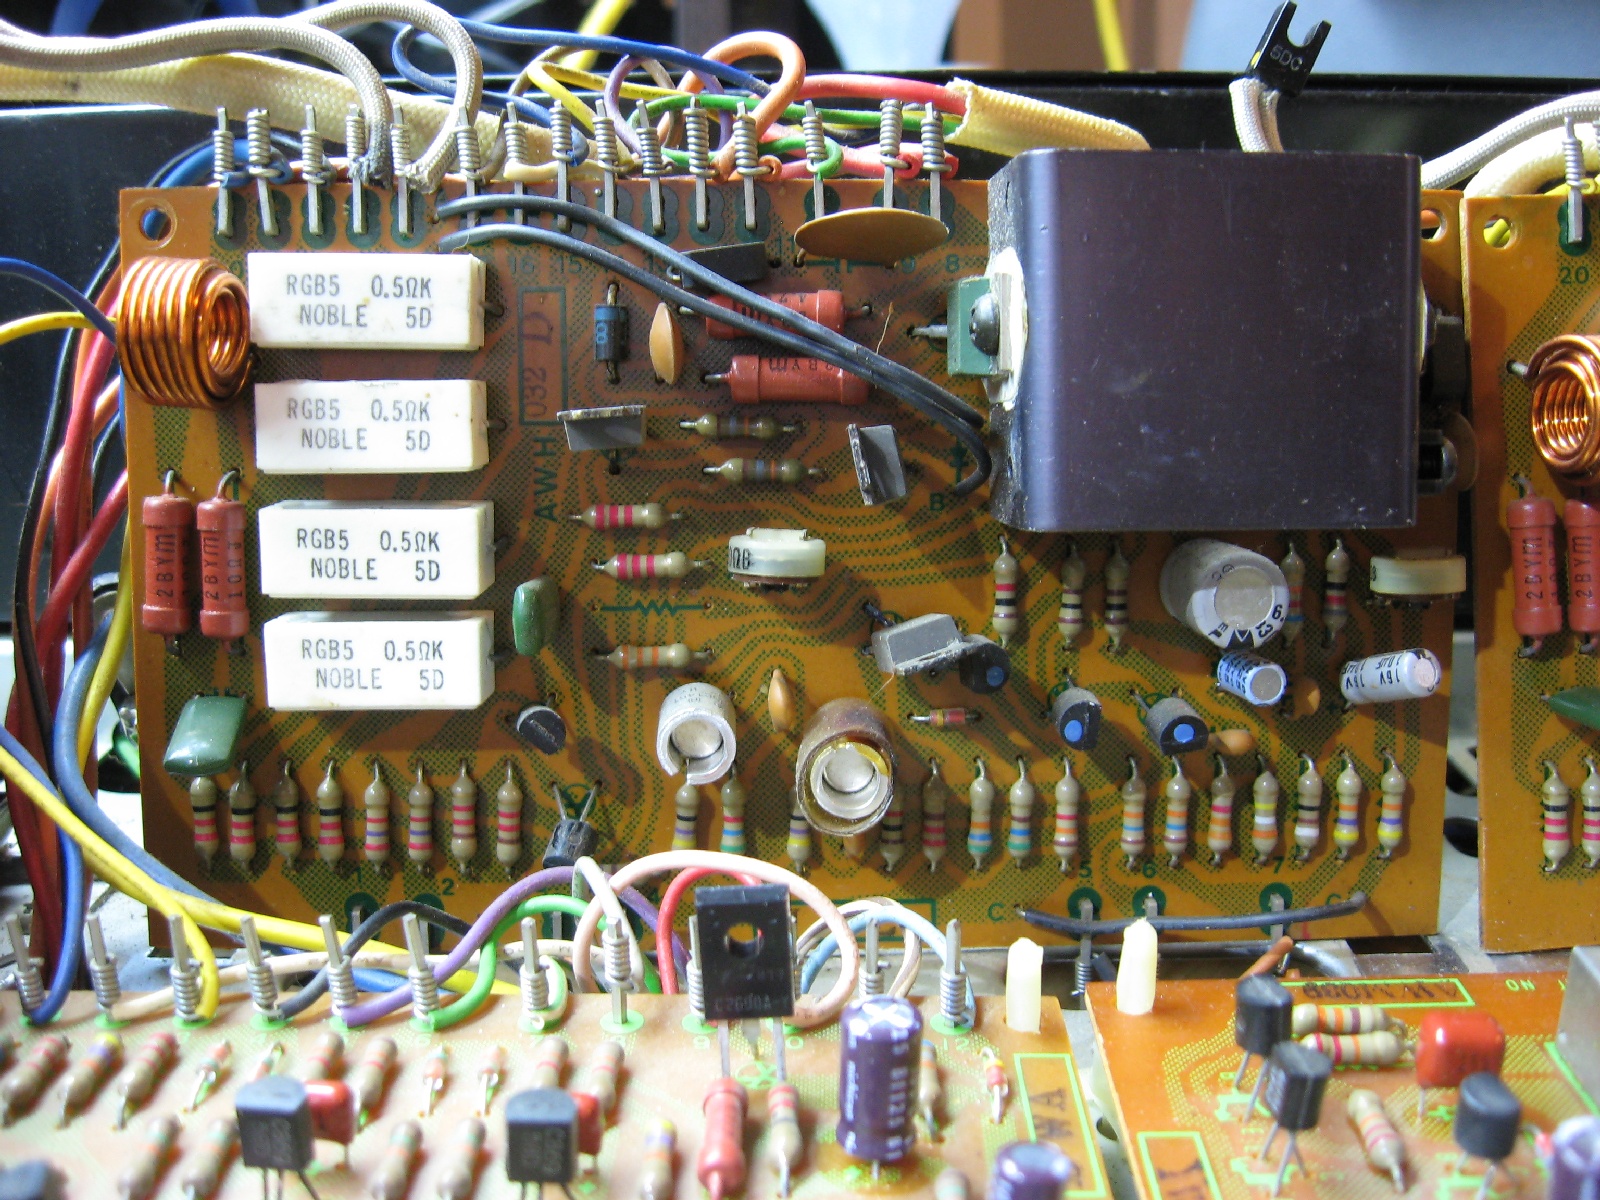

Power supply


Blown cap


Old filter caps


Before LED conversion


And after! WOW, are those LED's are blue! The photo can't even begin to show how blue it is. Note: the indicator lamps are still original, the replacements for those aren't going to be here until Thursday.


After recap photos!

Tuner board, I did not replace a lot of parts on here, the ones that are circled are the ones that were replaced.


FM muting


Phono amp


Tone amp


Protection board


Power amp (both boards look like this)


Power supply


New filter caps


Two 2.2uF poly film bypass caps were put across the terminals to improve HF filtering.


And it's put back together!
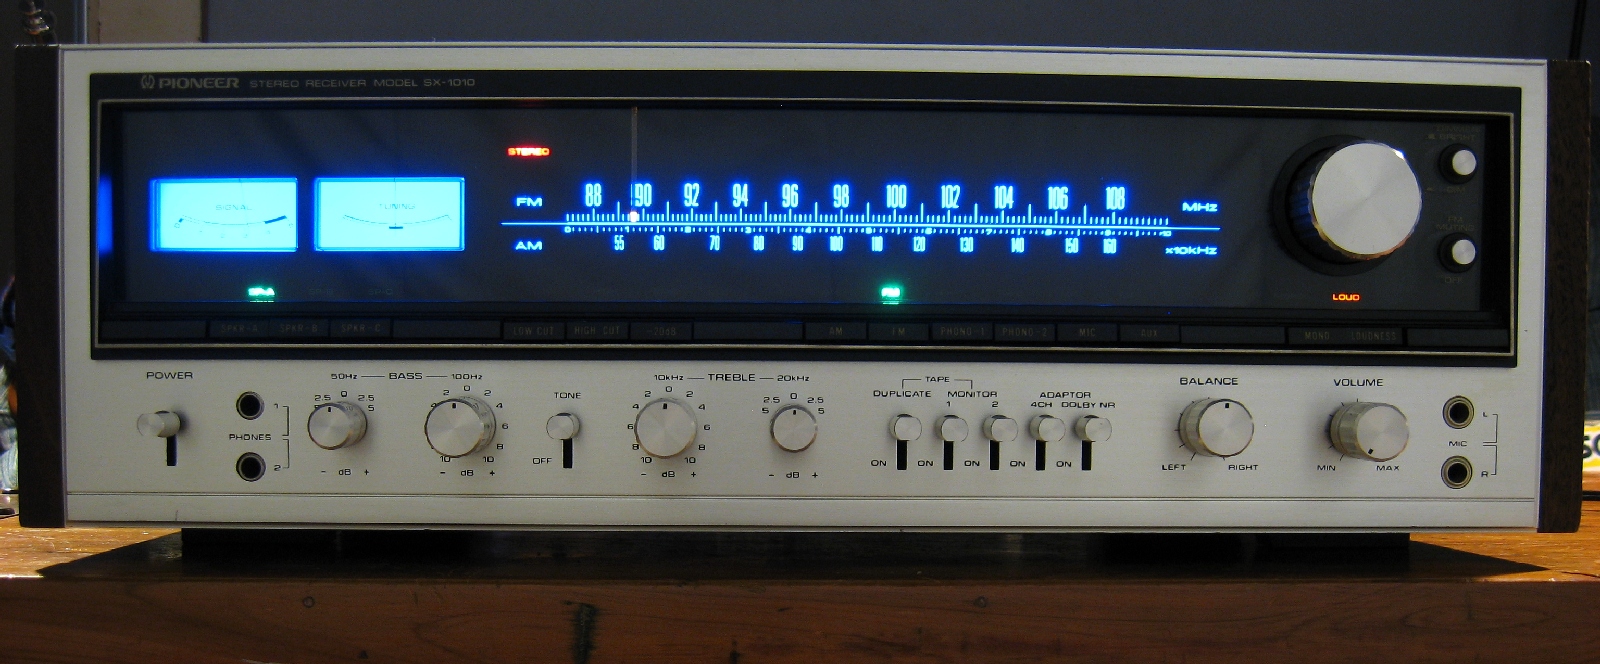


It has been burning in for about three days now (2/2/2011) and sounds beautiful, very warm sounding with powerful bass, clean treble and power to spare. It didn't sound like this before the recap, that's for sure! I got to bench test it, 120 watts per channel before clipping, both channels driven at 1kHz into 8 ohms. Spec for it at 1kHz into 8 ohms is 110 watts per channel, so 10 watts more then spec. Not bad at all!

This concludes the post, as always feel free to leave comments or questions.

Saturday, December 31, 2011

Sansui 9090 recap and restore

I got a 9090 to recap and restore from a local to me audio enthusiast (Hi Greg!). It's a little dirty and needing cleaned, it also has a few scratches on the wood case, but in excellent shape overall. Caps I'll be using are: Panasonic FC for the preamp sections, Nichicon PW for the power amp and power supply, Nichicon ES for the bi-polar caps, Panasonic ECQ film caps for anything under 1uF and Panasonic THA for the three filter caps, one of them is on the power supply and the two main filter caps are mounted under the receiver. I also am replacing the lamps with LED's.

Here is some before photos:

Tuner power supply


Equalizer board


Tone amp board I forgot (again!) to get a before photo of. *smacks head*

Volume control board


Protector board


Driver amp board


Power supply board, the cap laying on its side is the original cap that went where the other one is now (almost started again without taking a before photo!)


And after recap!

Tuner power supply


Equalizer board


Tone amp board


Volume control board


Protector board


Driver board


Power supply board


New filter caps, the originals were 6800uF 71v, I upgraded them to 10000uF 80v, the bass and overall power of the receiver benefited from this upgrade, the depth, detail and punch of the sound is tenfold better then when I listened to it with the originals.


This thing has a rich, warm and very powerful sound to it but still has a lot of excellent detail in the mids and highs. And yes, you can have a small concert with it as shown in this video, this thing was only pushing about 3 watts and look:


And put back together!


Friday, December 9, 2011

Second Sansui G-8000 recap!

I got another G-8000 as a project for me, it will eventually go to a friend as sort of a Christmas present. I wanted to document this in detail since I didn't with the last one. Problems are a cut power cord and broken bass pot along with a dinged faceplate, and because of the cut cord it was unable to be tested, so anything could be wrong with it. I got it in a huge box, a 35x25x20 500lb test double wall, packed with so much foam and bubble wrap it could have been run over with a train and it would have not had a scratch or ding on it. Alas, I was so excited to open it I forgot to take photos, but let it be said that it was some of the most extreme packing I've ever seen. 

I replaced the power cord and fired it up on the DBT, or dim-bulb tester and to my surprise everything seemed to work, the bulb went dim and the protection relay clicked. Took it off the DBT and went to full line power and it was fine, the DC-offset and bias was near perfect after a 10 minute warmup. Yeah baby!

Here are some before photos, it was amazing clean inside, a little dust but not much. Faceplate and knobs have been set aside for now, I'll show those later after I get it put back together.


Beefy interior!


Some before shots of the boards:

Tuner section, I will not be recapping this board as it seems that it's in perfect alignment.


Tuner power supply (yes, it has a separate power supply for the tuner!)


Phono amp board, those four orange caps go in the center and the two blue ones go where C13 and 14 are near the bottom, and the bi-polar cap was were the green cap is now. I started this board forgetting to take a before photo and then it hit me, I need to take one! Duh!


Tone/flat amp board


Driver amp board I did forget to take a before photo of, I've got to quit that!

Left channel power supply board


Right channel power supply board


Main power supply/protection board


And after the recap! Caps used are Panasonic FC for the preamp sections, Nichicon PW for the power supply boards and driver amps with the exception of the right channel power supply, I used Panasonic THA snap in caps for that one. Nichicon KL was used for the orange low noise caps, Nichicon ES and VP for the bi-polar caps and Panasonic ECQ film caps for anything under 1uF.

Tuner power supply


Phono amp board


Tone/flat amp board


Driver amp board (both of them look like this on)


Left channel power supply board, pin connectors were also cleaned.


Right channel power supply board, pin connectors were also cleaned.


Main power supply/protection board, relays and pin connectors were also cleaned.


Some interior shots after cleaning it up, though there wasn't much needing cleaned.


And it's now back together!


The bass pot I have rigged a temporary fitting for until I can find a new pot.

The G-8000 will remain one of my favorite receivers of all time, both in looks and sound. Paired with good speakers and recapped, this thing is a very clean, crisp sounding receiver with a clear powerful sound, it will literally make speakers come alive, both at high and low volume. Words can't accurately describe how it sounds, it's something that you have to hear for yourself to appreciate what it can do.

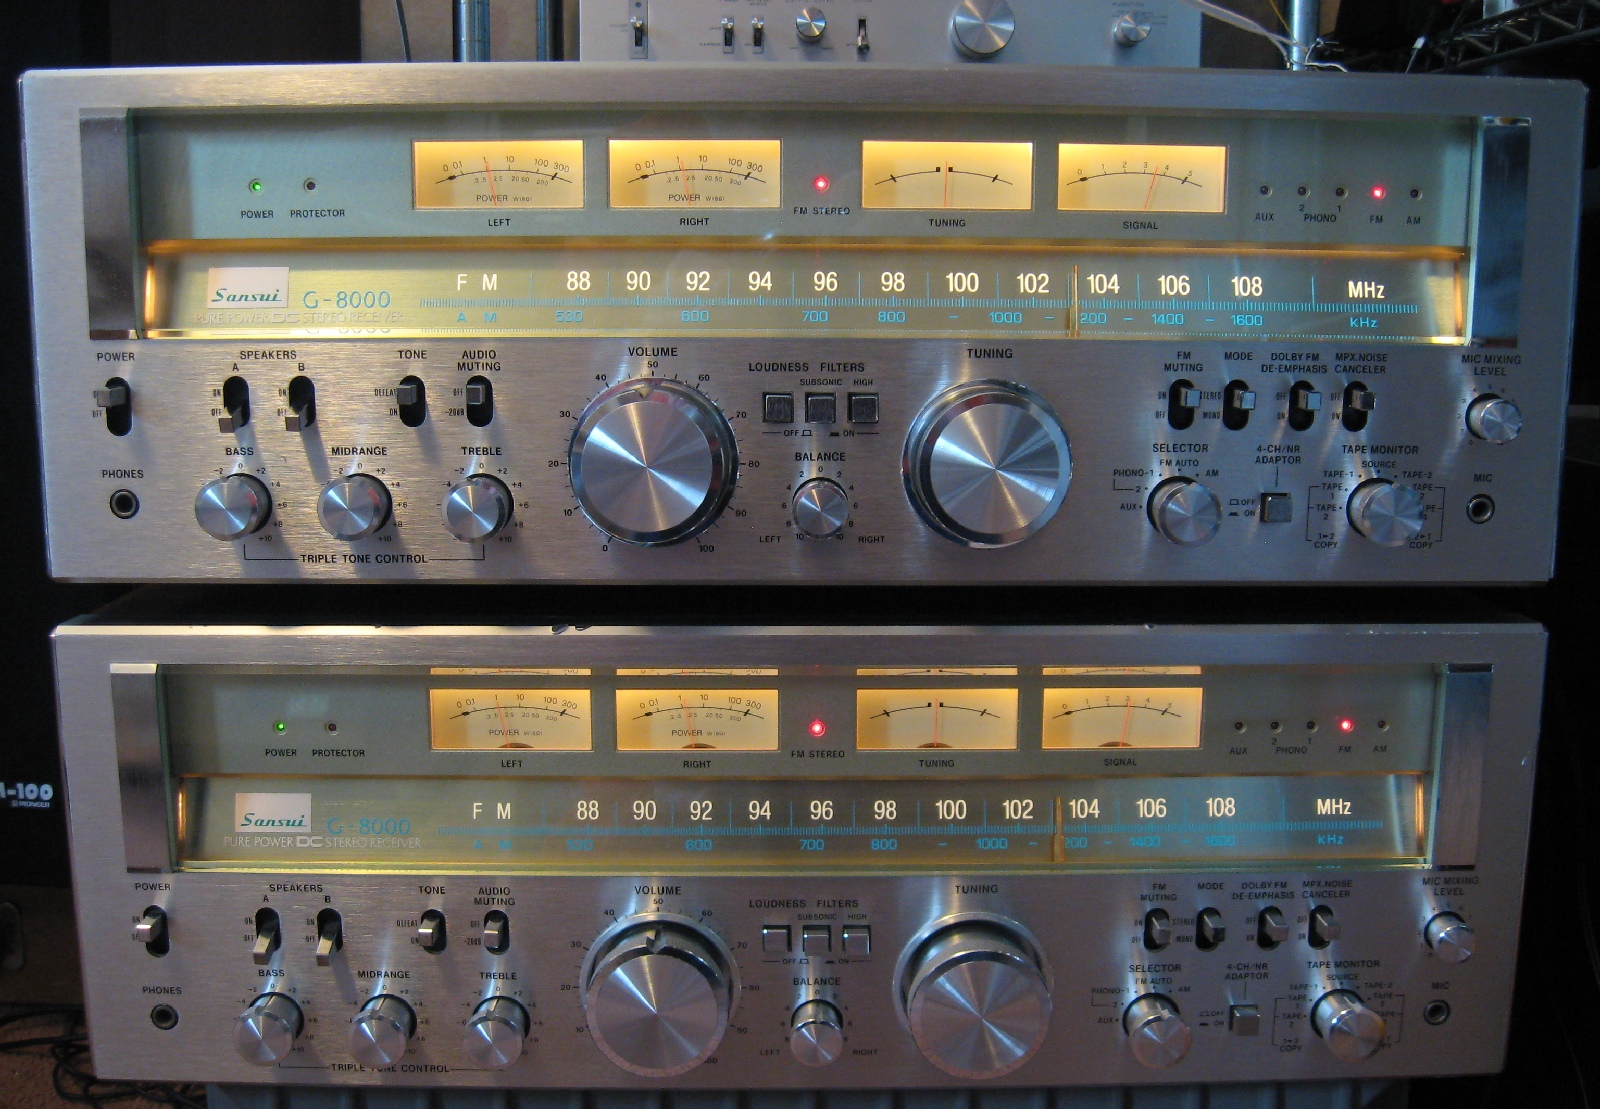
Here is a shot of both G-8000's together. Mine is on top and the new one is on the bottom.