My restored SX-1980

Friday, May 4, 2012

Pioneer SX-1980 Recap and Restoration!

I have finally got one, the beast. A friend of mine got a line on this one, scratchy controls was all it had. He asked my opinion of it and should he get it, you can imagine what my response was. GET IT! He bought it, but found it could not fit anywhere in his system, so he offered it to me, and long story short I got it and he shipped it here. If you have never seen one of these in person, you can't appreciate how big these things are. They, are, massive! And try moving one around a lot, it will cause you to have a hernia, 78 pounds, 22 1/4" wide, 19" deep and 8 1/4" high.

I'm going to be doing a complete restore to it, recap, full cleaning from top to bottom, the works. Here are some before photos, I'll be adding more as I get into it.


Some before photos of the boards, more will be added as I get to them

EQ (Phono) amp board


Tone amp board


Flat amp board


Filter amp board


Power amp board (there are two of them and they look exactly the same, except one has the two big caps on the left instead of the right, this one is of the left amp board)


Power supply board


And after recap!

EQ (Phono) amp


Tone amp


Flat amp


Filter amp


Power amp (this one is the right hand amp board)


Power supply board (Note: I miscounted the caps in the list I created and came up two short, so you can see two caps that are still original, I've got those on order.)


And it works perfectly! Powered up on the DBT (Dim Bulb Tester) with no problems, offset and bias set with no problems whatsoever and when I played it for the first time, glorious sound from both channels, no scratchiness or cutting out at all.

I still have to replace the two caps on the power supply I missed, the SS relay, the two 35v zener diodes and the tuner boards, but other then that this thing is ready to rock and roll! I'll be posting pics soon with it back together.

Update 08/11/12: I replaced the 35v zeners, the two caps and the soft start relay a month ago but some how forgot to update the post to that affect! The regulator mod discussed here was also implemented


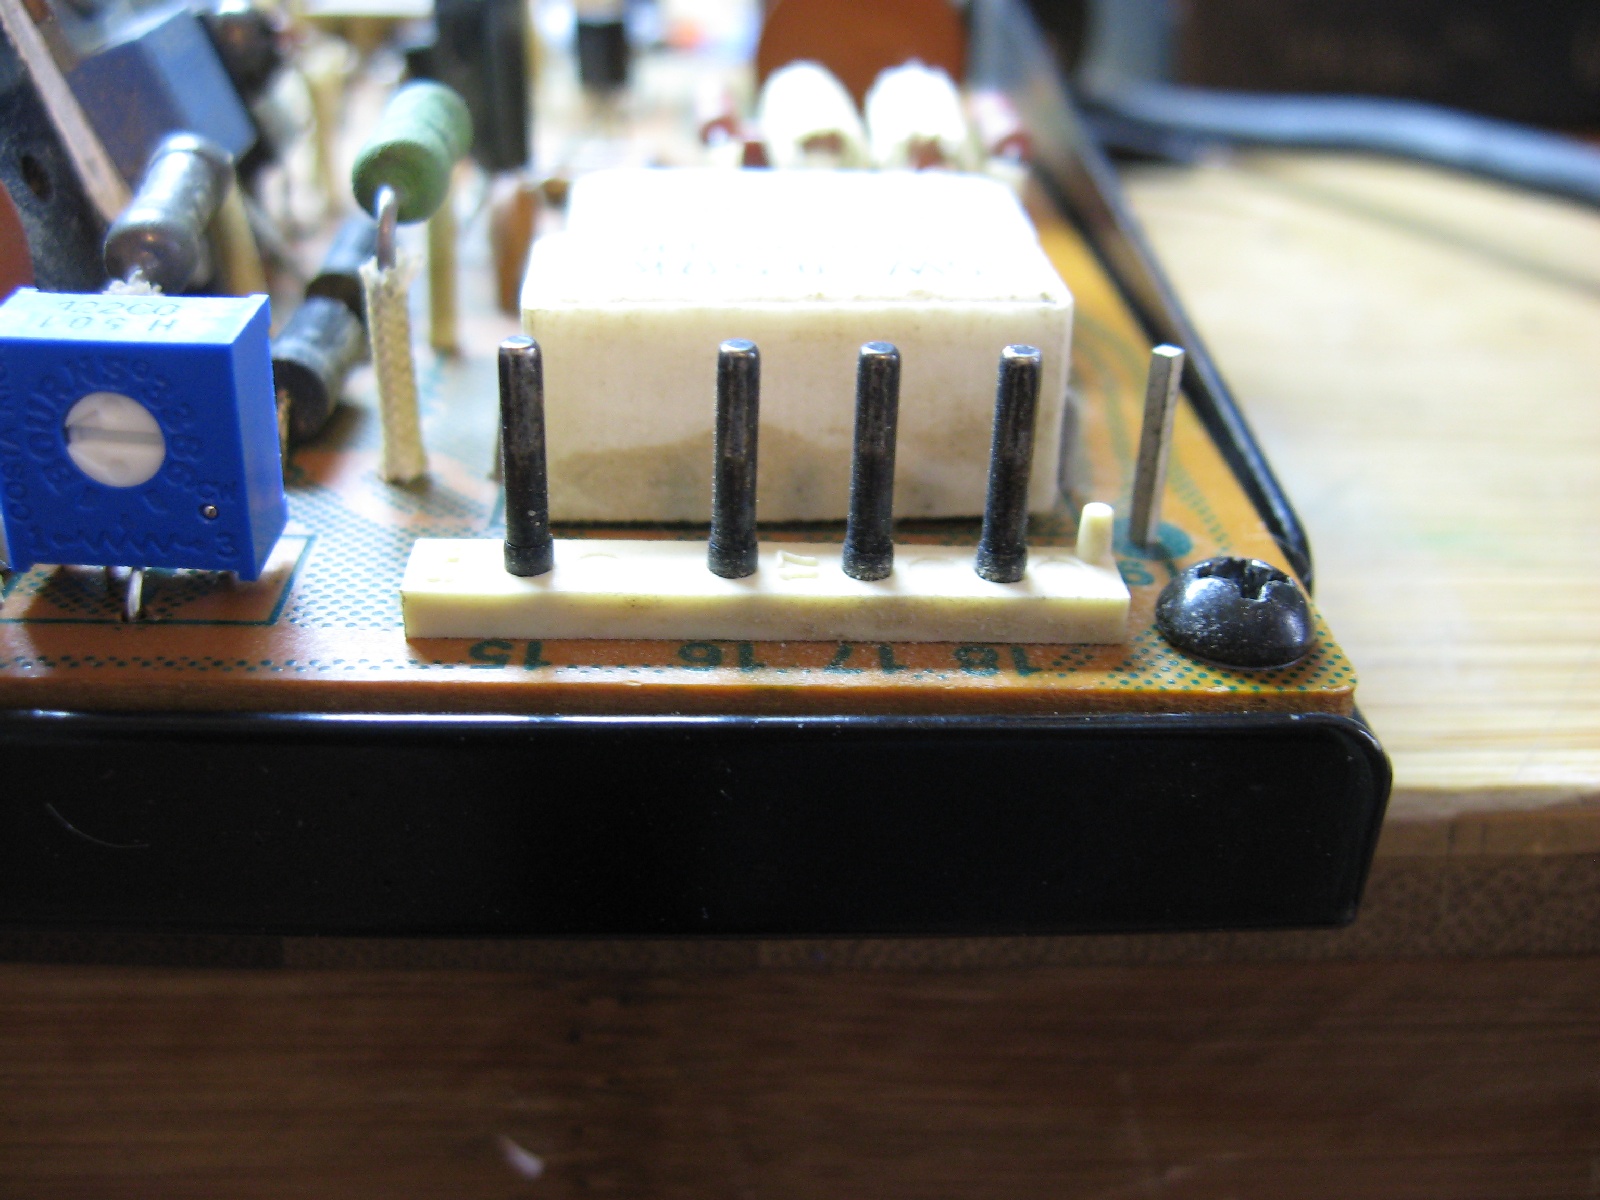
New relay top and side, note it is a top mount, so I will have to exchange cases with the old relay so it will fit on the board.


New vs old


And the new relay in place!


Also got the tuner recapped and fully aligned!

Tuner board before:


And after!


This is the APC board which controls the quartz lock

Before:


And after!


 And here are some photos of it with everything put together!


Monday, January 30, 2012

Pioneer SX-1250 score!!!!!!

I just got a SX-1250, beautiful cosmetic condition and working, but only through the power amp. The preamp, or specifically the tone amp is shot, it has bad caps on it and when you flip the tone switch, it goes into protection. Also the indicator lamps are not working, that fault lies in the power supply, some transistors have gone belly up and are no longer supplying voltage to them.

The price? $75, and he was asking that even though he know that they were worth triple that, even with the bad preamp and transistors on the power supply. So if you read this Mark, thank you, thank you, thank you!

Here are some photos, I'm going to be giving this a drool worth restoration in the near future, so stay tuned!


Here are some before photos of the boards and other stuff, I'll keeping adding stuff as I get into it.

Equalizer amp


Flat amp


Control amp


Filter amp


 Left power amp board


Pins before


Right power amp board


Protection board


Stabilizer board


Power supply


Left channel filter caps


Right channel filter caps


A loose cap top


Right side of chassis before cleaning


Left heatsink before cleaning


Right heatsink before cleaning


I forgot to get a photo of the left side, but it looked like the right side above.

I just got my parts today (02/07)! The filter caps however won't be here for another couple of days.

Here are the parts:


And after recap and cleaning!

Equalizer amp board, 12 caps and 14 transistors on this board


Control amp board, 26 caps and 4 transistors were replaced on this board, also the controls were given a Faderlube treatment and the switch Deoxited.


Filter amp board, 4 caps and 2 transistors on this one, Deoxit was applied on all the switches as well.


Flat amp board, 12 caps and 6 transistors replaced, also Deoxited all the switches.


Left amp board, all the pins were cleaned and the board dusted and cleaned as well. 5 caps, 2 transistors (the input pair) and 2 variable resistors were replaced.


Right amp board, same thing done as above.


Protection board, new relay, replaced three transistors, upgraded two of them to bigger TO-126 case styles and replaced 6 caps. Also cleaned the board.


Stabilizer board, 16 caps, 13 transistors, 6 diodes and 2 variable resistors were replaced. Board was cleaned as well.


Power supply board, only 4 caps on this one, also checked the fuses for proper rating and any corrosion.


Left side of the chassis cleaned up


Left heatsink after cleaning


Left heatsink and boards put back in


Right side of the chassis cleaned up


Right heatsink cleaned up


Right heatsink and boards put back in


New filter caps in place!


Bottom view, left channel


Bottom view, right channel


Old versus new


And all back together!


It has been powered up and works great, tuner and indicator lamps are back on, I've now started the burn in process! Woohoo!

And here are the pics of it put back together! Warning, major drool alert, protect anything that maybe damaged by drool. You have been warned. :-D


This is hands down the best Pioneer receiver I have ever heard, the depth, clarity and power that the restoration has given it is something else, I can't describe it, it's something that must be heard to appreciate it. It will have a permanent place at the head of my rack, I don't think I will ever sell it.