
Here is a restoration I did a while ago and is a piece from my personal collection, a SPEC-2. Some background, I got this from a guy who I restored a SPEC-1 and SPEC-2 for a few years ago. Long story short, he had a second one in the basement that had problems and gave it to me for free! When tested it would not come out of protection. Upon inspection of the boards I found the caps and transistors had been replaced on both power amp boards with a weird mix of good and bad replacements and a couple of questionable mods.
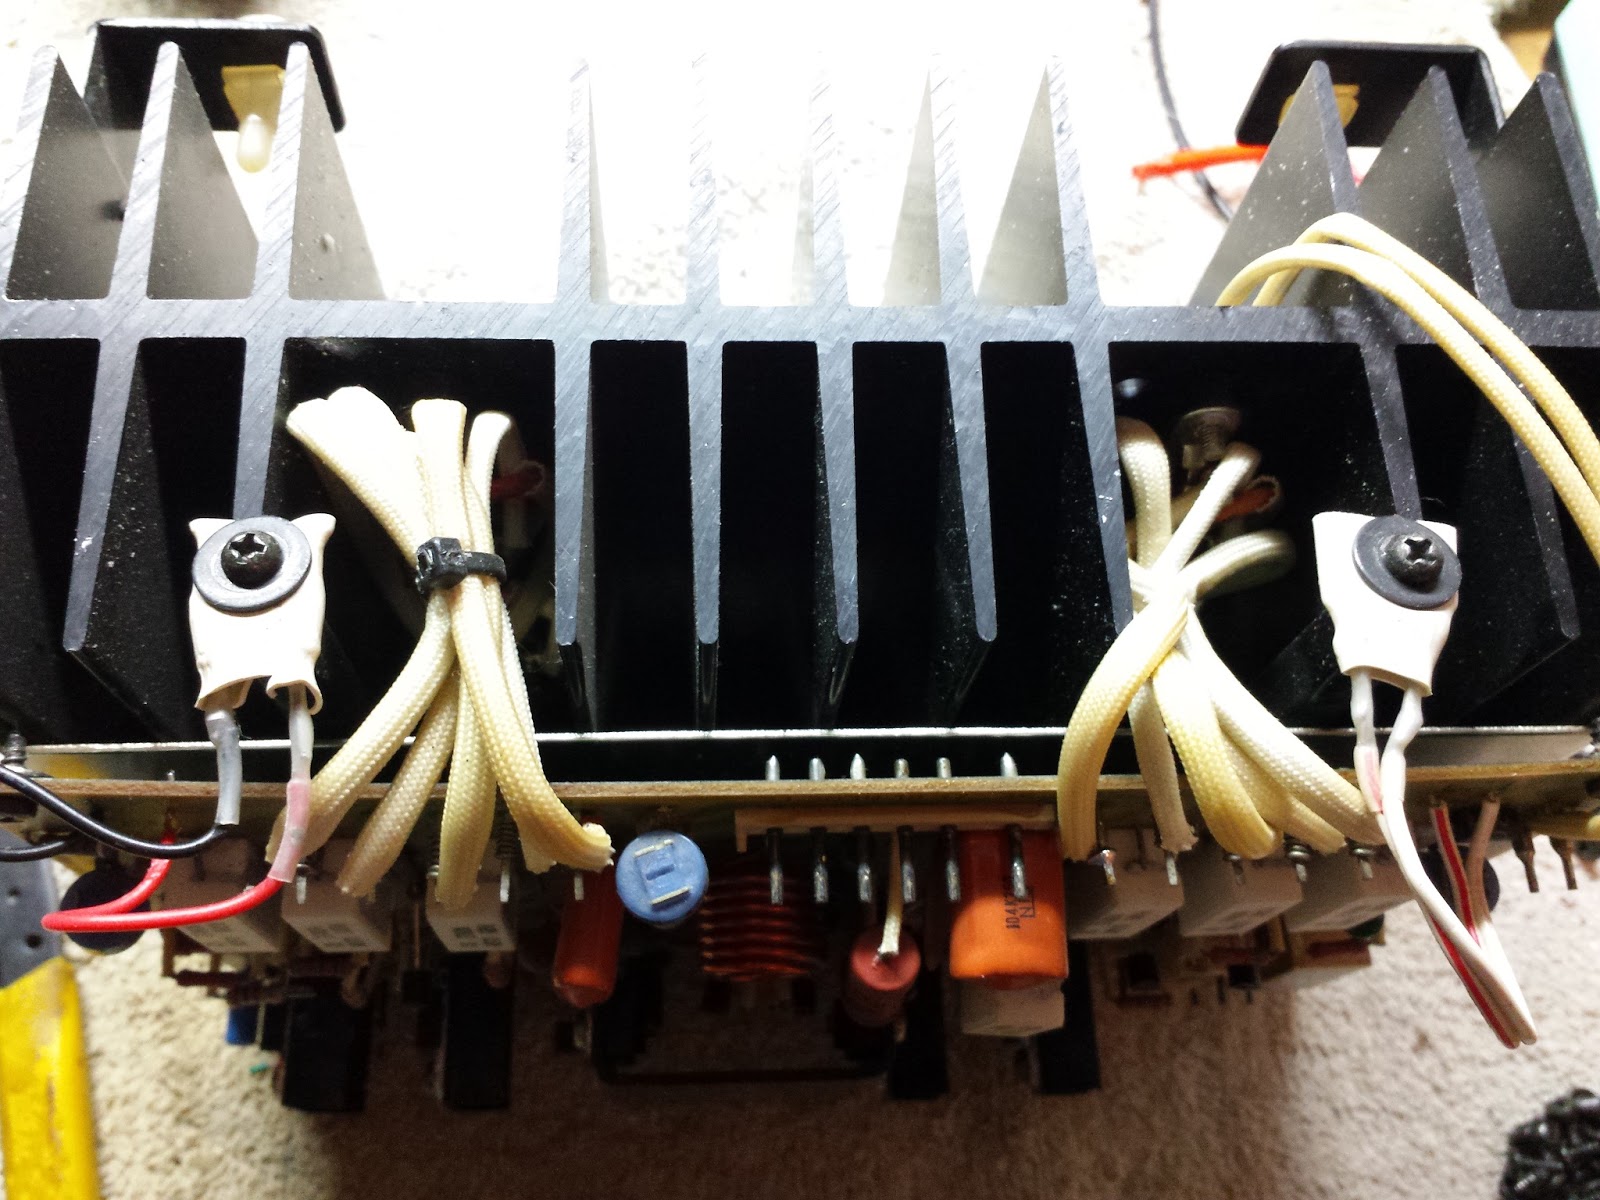
Let us start with the left power amp board, as it has some interesting things done.
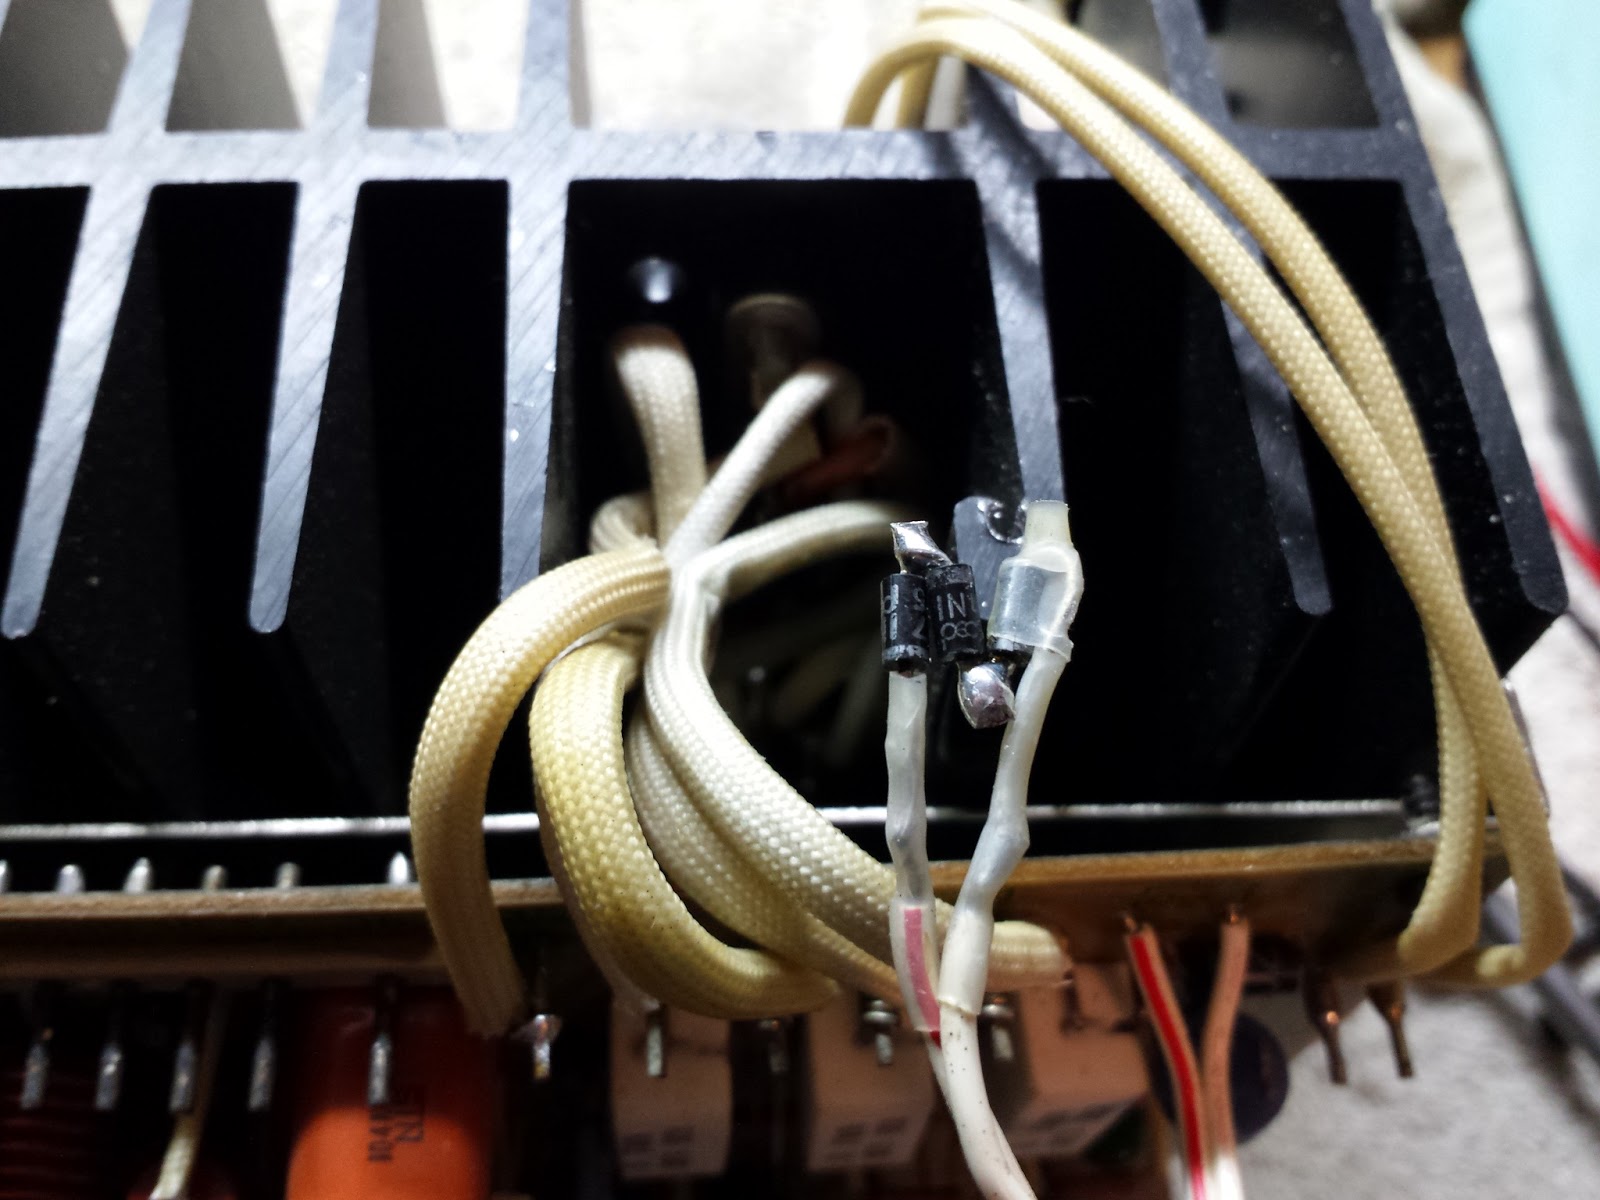
The left channel STV diodes had homemade replacements made from three 1N4007 diodes in series for the STV-3H and four 1N4007 diodes in series for the STV-4H in a weird plastic case screwed to the heatsink.
Some close ups with the plastic cases removed:
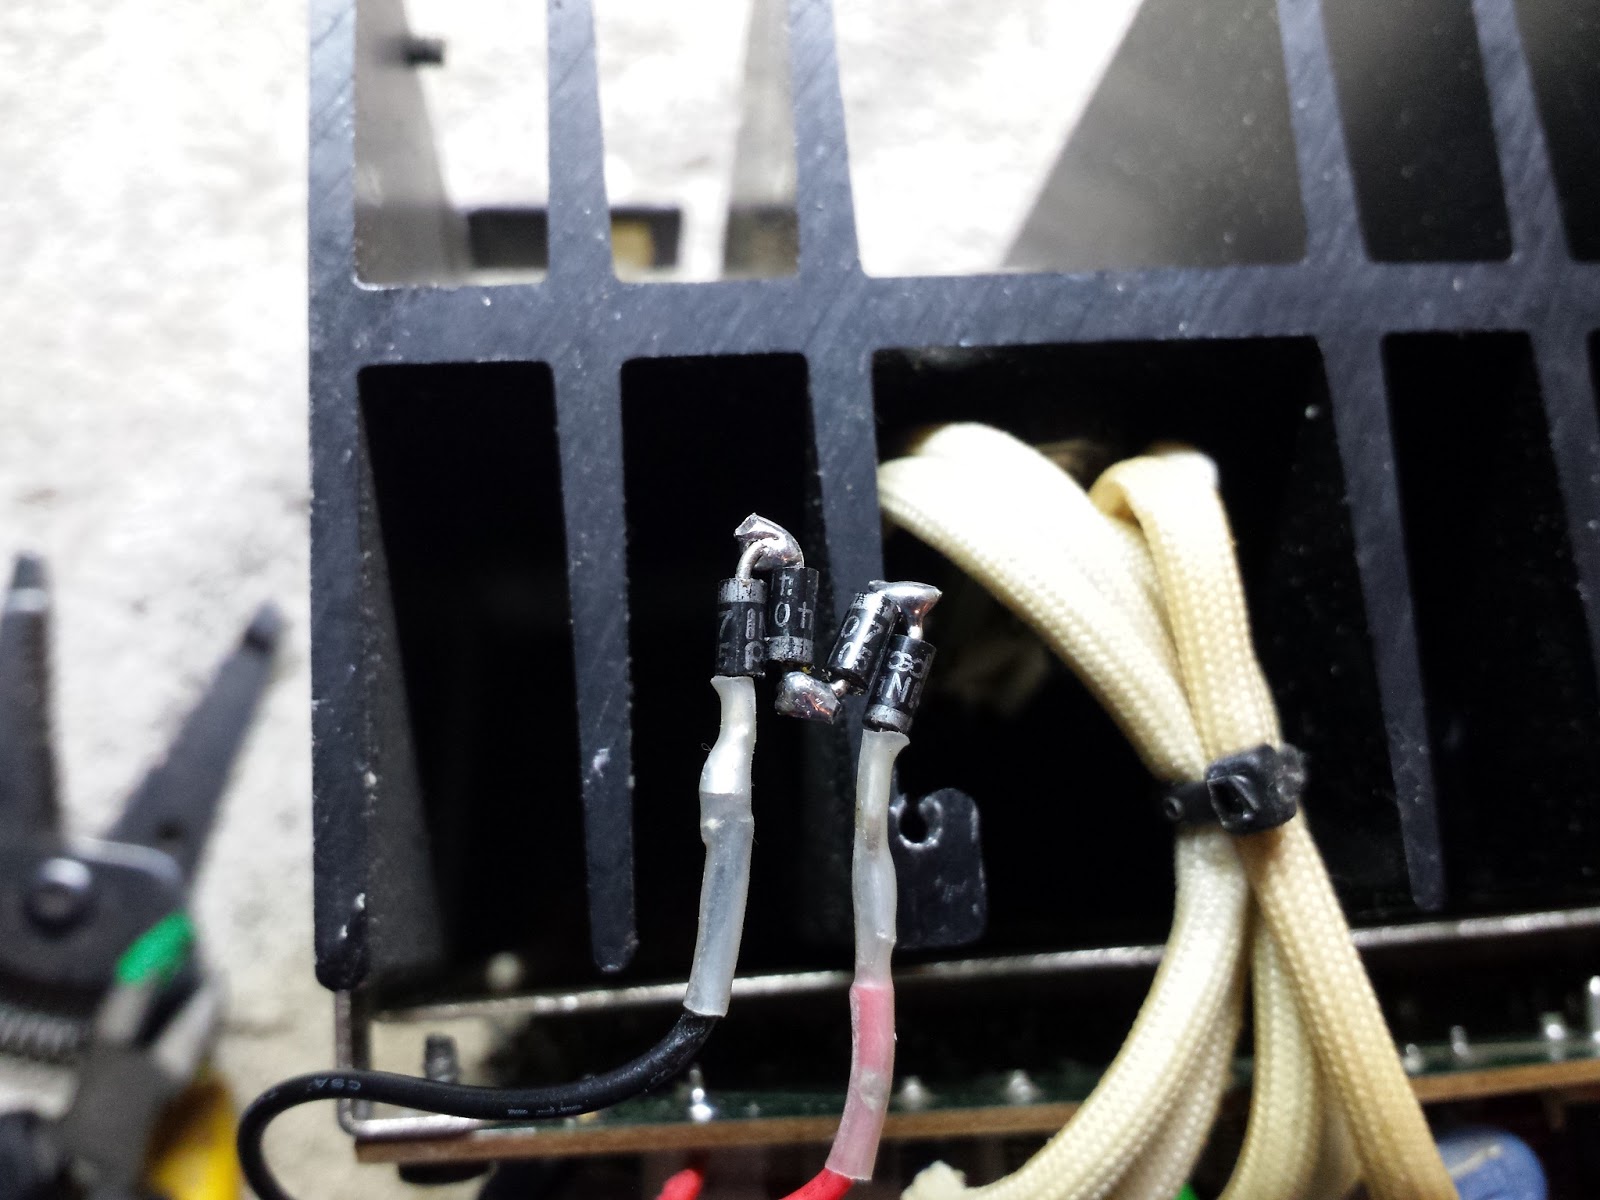
An interesting way to replace the STV diodes, however not ideal for good thermal tracking. I tracked down an original STV-3H diode from a seller in Germany and a STV-4H from a parts receiver that I had here. The 4H diodes are not easy to find, so I was thankful I had a parts unit with one in it.
Board before (note I have already replaced the STV diodes)

Molex pins (note I cleaned the right 2 to show the differences):

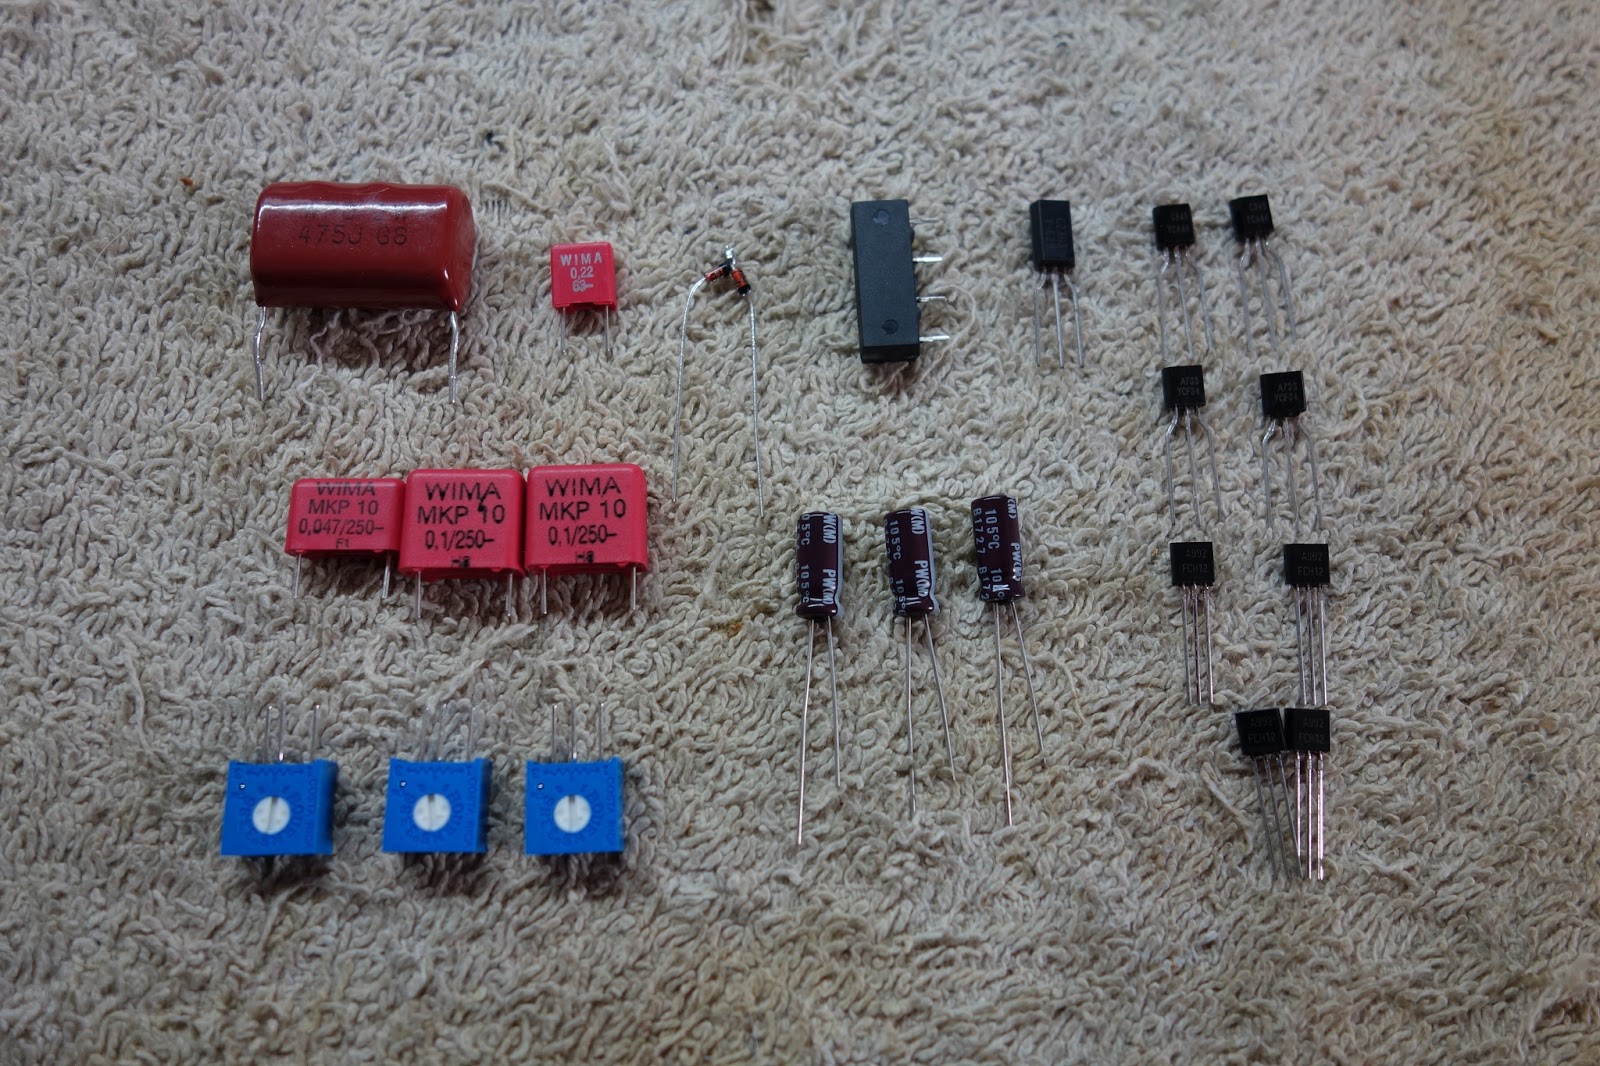
Parts ready to be used!
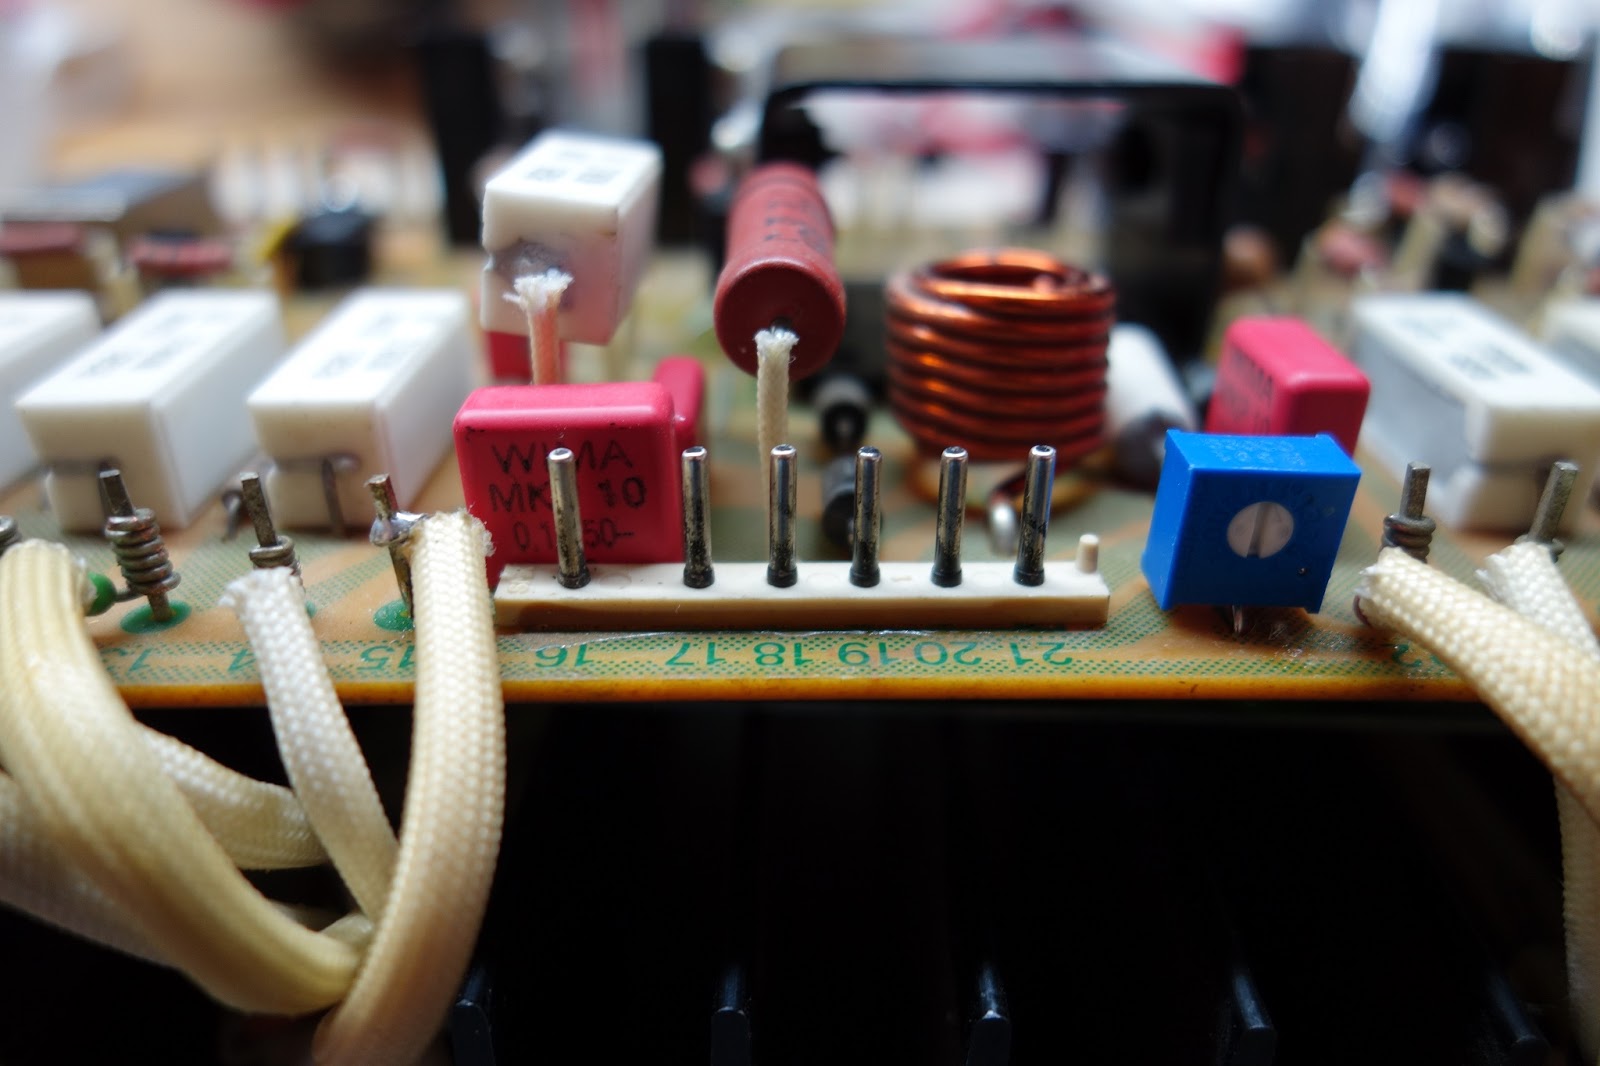
A cool thing I noted when I was looking for a polypropylene replacement for the input cap, the board actually provides pads for bigger capacitors than the little tantalum being used currently. It allows for, in addition to the 5mm lead spacing of the tantalum, 10mm, 15mm and 22.5mm lead spaces via the trace here:

And after! In total 8 caps, 14 transistors, 6 diodes, 3 variable resistors and the bias relay were replaced. Nichicon UPW for the 3 electrolytic caps, Panasonic and Wima caps for the rest of it. Transistors are Fairchild and On-Semi.

Molex pins:
STV-4H:

STV-3H:
Close up of the new input cap and transistors, I beta matched the differential pair to 1% and then heatshrinked them face to face for better thermal stability.
The outputs were also replaced, but they do not look good, some look like somebody hit them with a punch and they are dented pretty good in the middle of the case. Not going to trust them.

And after, the micas were also replaced with new:

Now for the right channel. The STV diodes were all original on this board, but it still had questionable cap and transistor replacements. Some of the transistors were replaced with the correct type however.

And after! All the molex pins were cleaned and other than the STV diodes, all the other replacements parts are the same.

The right channel outputs are good originals, but in the interest of symmetry I am replacing them with the On-Semi MJ outputs as well.

And after! Micas were replaced here as well.

Next, the power supply. Pretty simple job here:

And after! Just 2 caps and 2 relays here. Nichicon PW for the caps and the relays were replaced with Omron low noise relays.

Last, we have the meter amp board, this also supplies some of the regulated DC rails as well. This also has had some caps and transistors replaced, none of them however are good quality replacements.

The primary surge relay on this board is pretty easily replaced, the case can be transplanted onto the new relay with no mods needed.

Old vs new:

New relay, old case!

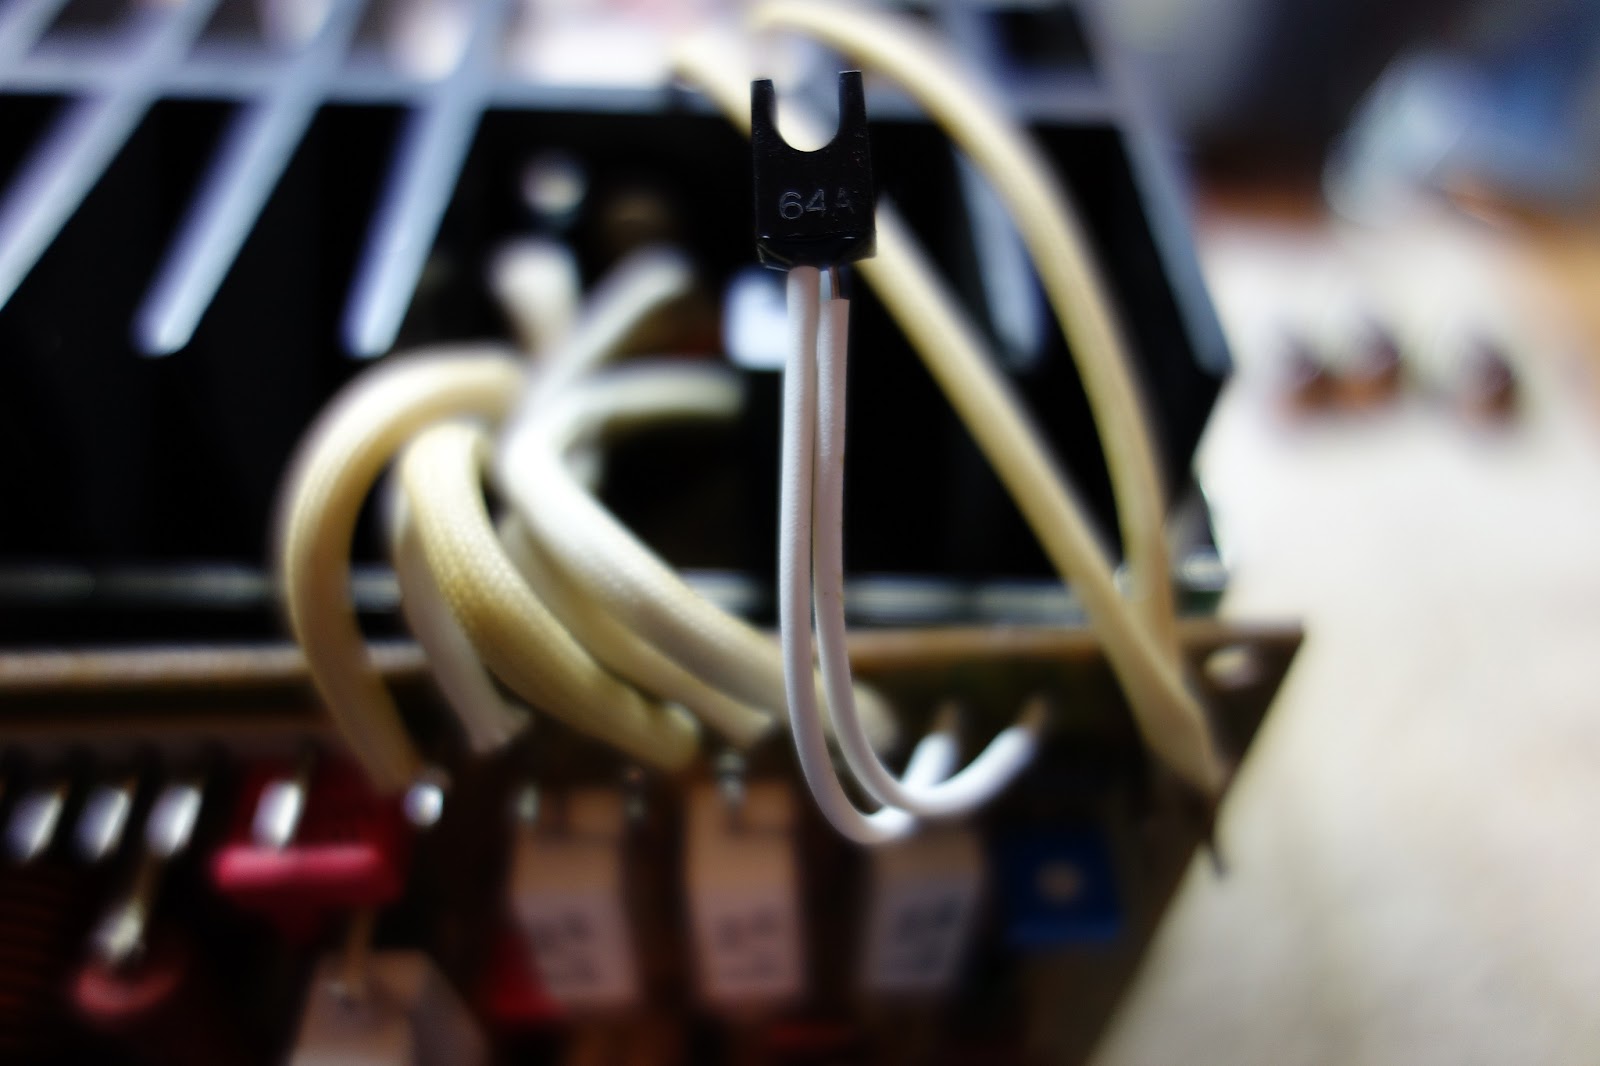
I added spade connectors to the wires for easier removal later if necessary.


One unique thing on this board is the 10uF 160v bi-polar cap they use to pass current until the relay closes. It is pretty much impossible to find a electrolytic replacement, but you can find a polyester film with that capacity. The only issue is that the poly cap is much bigger and so is the lead spacing, however you can use the lead hole that's circled and it allows you to fit a bigger cap.

And after!

All done! 18 caps, 17 transistors, 2 trim pots and the relay were replaced. Nichicon PW for the electrolytic caps, Panasonic and Wima everywhere else. Transistors are all Fairchild.

On to the filter caps! Oddly they only used 15000uF x 4 instead of the 22000uF x 4 like the SX-1250 and SX-1980. Since this amp has three soft start/surge current circuits, one for the primary and one for each of the secondarys, we can safely up the filter cap size to 22000uF with no problems. Note one had been removed already before I took the photo.


Old vs new.

And after!


And it's ready to fire up! Fired it up on a DBT, checked bias to make sure it set properly, everything passed so I hooked it up on line power. Set the bias and meters to spec, connected my speakers and source, hit play and voila!

Words fail to express how good this thing sounds, but safe to say it sounds better than my 1980 by a good margin. However, when I recapped the 1980 I didn't upgrade any of the signal path caps to poly films, so it's not exactly surprising. Upgrading signal path caps to polyester or polypropylene film where possible is the single biggest upgrade to the sound you can do by far. Replacing the tired old electrolytic caps is a big step in itself, but polys in the signal path is just that much better. Clearer and more transparent highs and midrange, tighter bass and a much more defined soundstage are just some of the benefits. Not as noticeable audibly but can be noted on the test equipment is reduced THD and better S/N ratio as well.