
I just got a SX-1250, beautiful cosmetic condition and working, but only through the power amp. The preamp, or specifically the tone amp is shot, it has bad caps on it and when you flip the tone switch, it goes into protection. Also the indicator lamps are not working, that fault lies in the power supply, some transistors have gone belly up and are no longer supplying voltage to them.
The price? $75, and he was asking that even though he know that they were worth triple that, even with the bad preamp and transistors on the power supply. So if you read this Mark, thank you, thank you, thank you!
Here are some photos, I'm going to be giving this a drool worth restoration in the near future, so stay tuned!


Here are some before photos of the boards and other stuff, I'll keeping adding stuff as I get into it.
Equalizer amp

Flat amp

Control amp

Filter amp

Left power amp board

Pins before


Right power amp board

Protection board

Stabilizer board

Power supply

Left channel filter caps

Right channel filter caps

A loose cap top

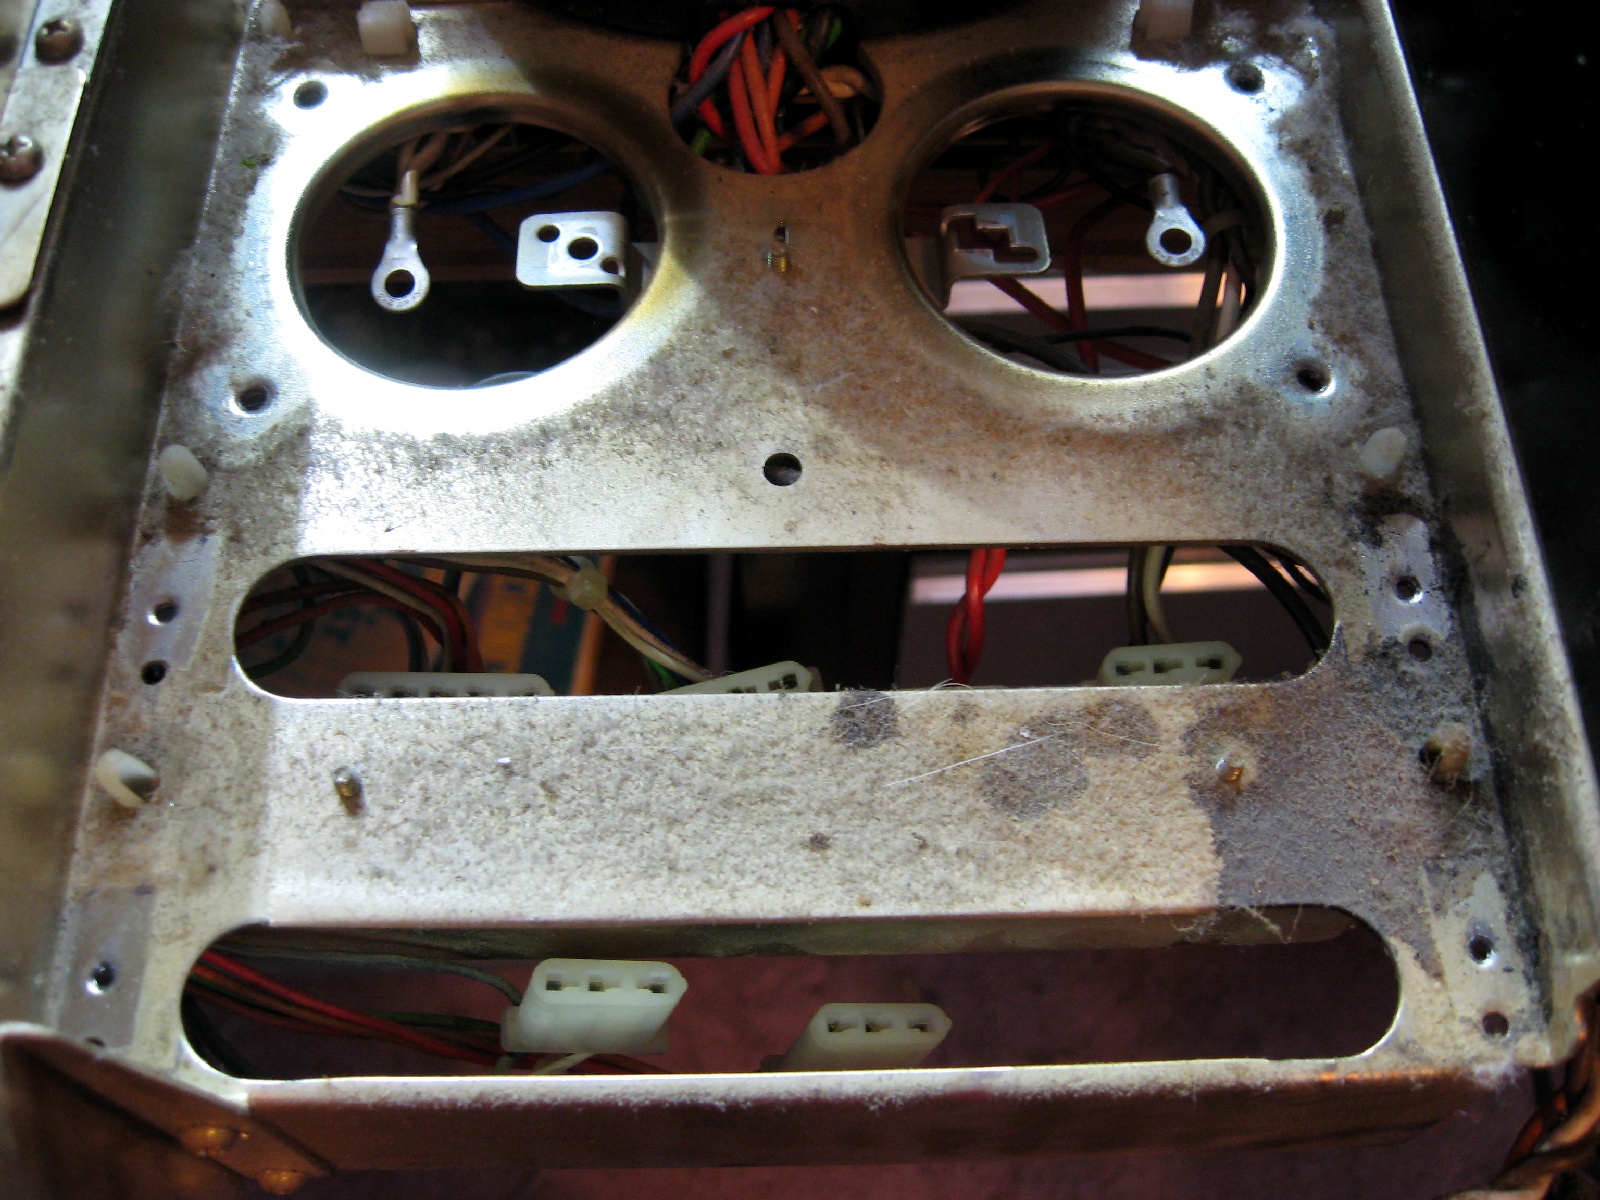
Right side of chassis before cleaning
Left heatsink before cleaning

Right heatsink before cleaning

I forgot to get a photo of the left side, but it looked like the right side above.
I just got my parts today (02/07)! The filter caps however won't be here for another couple of days.
Here are the parts:

And after recap and cleaning!
Equalizer amp board, 12 caps and 14 transistors on this board

Control amp board, 26 caps and 4 transistors were replaced on this board, also the controls were given a Faderlube treatment and the switch Deoxited.

Filter amp board, 4 caps and 2 transistors on this one, Deoxit was applied on all the switches as well.

Flat amp board, 12 caps and 6 transistors replaced, also Deoxited all the switches.

Left amp board, all the pins were cleaned and the board dusted and cleaned as well. 5 caps, 2 transistors (the input pair) and 2 variable resistors were replaced.


Right amp board, same thing done as above.

Protection board, new relay, replaced three transistors, upgraded two of them to bigger TO-126 case styles and replaced 6 caps. Also cleaned the board.

Stabilizer board, 16 caps, 13 transistors, 6 diodes and 2 variable resistors were replaced. Board was cleaned as well.

Power supply board, only 4 caps on this one, also checked the fuses for proper rating and any corrosion.

Left side of the chassis cleaned up

Left heatsink after cleaning

Left heatsink and boards put back in

Right side of the chassis cleaned up

Right heatsink cleaned up

Right heatsink and boards put back in

New filter caps in place!

Bottom view, left channel

Bottom view, right channel

Old versus new

And all back together!

It has been powered up and works great, tuner and indicator lamps are back on, I've now started the burn in process! Woohoo!
And here are the pics of it put back together! Warning, major drool alert, protect anything that maybe damaged by drool. You have been warned. :-D


This is hands down the best Pioneer receiver I have ever heard, the depth, clarity and power that the restoration has given it is something else, I can't describe it, it's something that must be heard to appreciate it. It will have a permanent place at the head of my rack, I don't think I will ever sell it.
This receiver is not for the faint of heart and should be done by somebody who either knows what they are doing or has an expert guiding them. You could probably do it, however it's very involved process and will take awhile. My receiver, if I had worked on it straight through without any breaks, would have been about 12 hours of labor, but some of that was cleaning it up. Not trying to scare you off, just saying you can easily get in over your head if you're not prepared and are not familiar with what it involves.
ReplyDelete